
Tekken 8 Training Mode: How to extract the most value

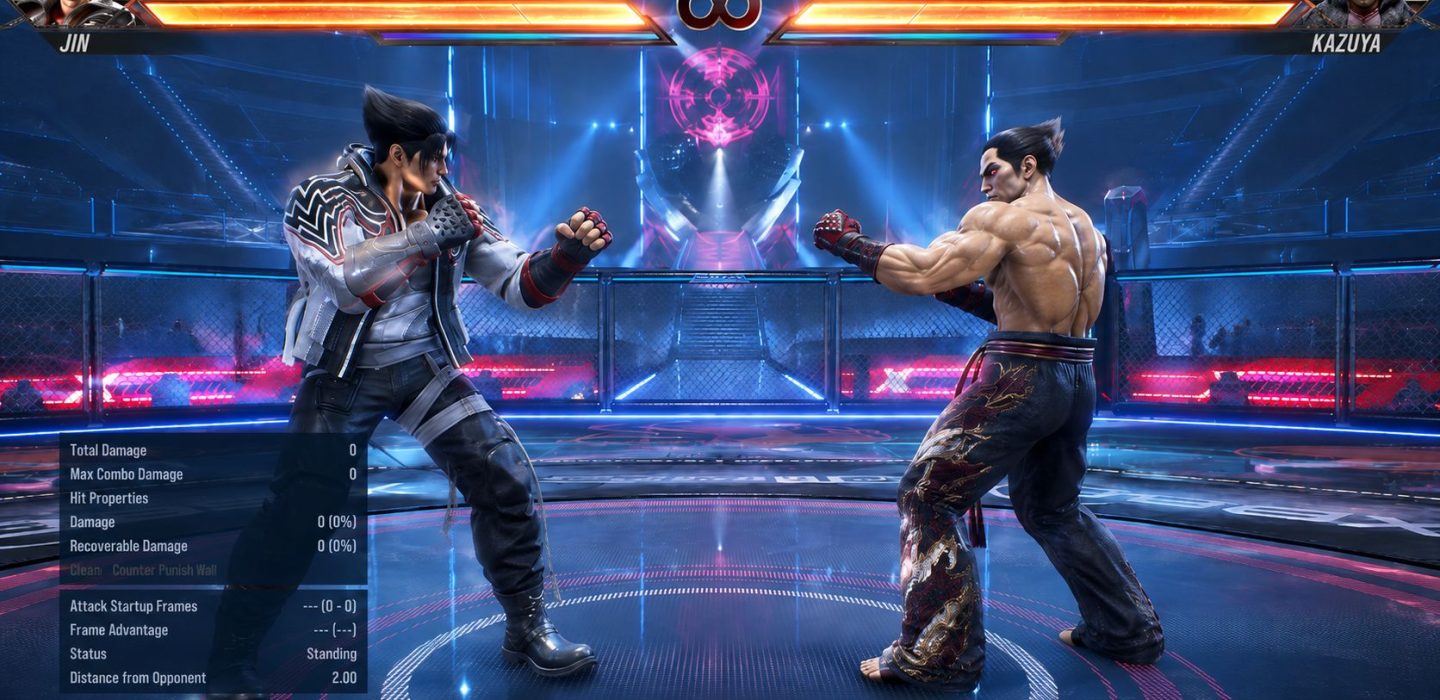
Training in a fighting game is the only way to actually improve. During a match there’s no room to overthink: reflexes need to be sharpened, and natural combos have to become second nature.
Training Mode exists for exactly this: turning character theory and knowledge into habit, so you react better under pressure and take on opponents with confidence. Without practice, you don’t grow.
How do I use Training Mode?
Tekken’s Training Mode looks simple, but it’s actually quite complex to use if you’re just starting out, and it’s packed with settings. Let’s go through which settings do what, and which ones are recommended to turn on.
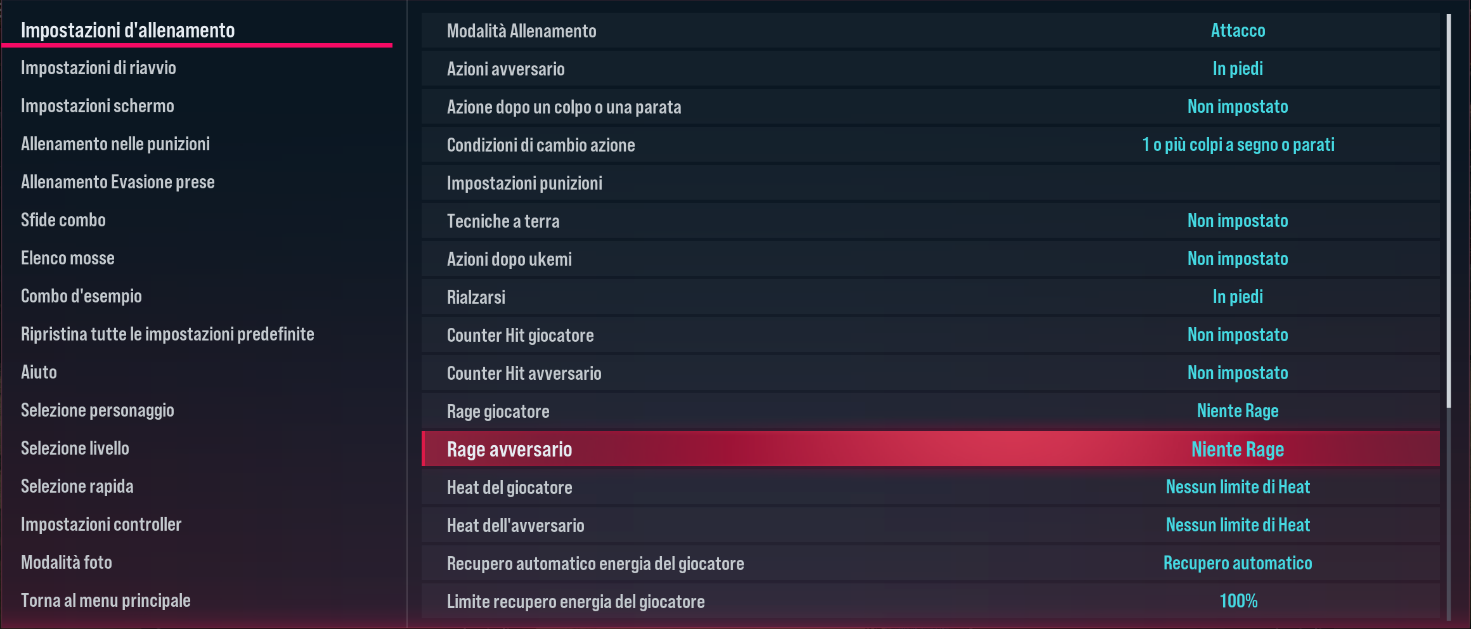
The Training Mode menu offers three groups of settings; on the left we have: Training Settings, Restart Settings, Display Settings.
Training Settings
Inside we find several settings, let’s see what they are.
Training Mode: you can select the opponent’s behavior, choosing whether to train against offense, defense, or the CPU. All the settings below change depending on which of these you pick.
Opponent Action: this is the first main action our opponent will perform. You can have them stand without blocking, put them in high guard (which blocks highs and mids), low guard, or full guard; you can have them jump, follow you, copy your inputs, or let a friend play by choosing the “Controller” option.
Action After a Hit or Block (second action): this is the second action our opponent performs, after the first. The choices here are the same, with the addition of movement options: you can have them sidestep, sidewalk, backdash, move freely, or enable Punishment mode.
Action Change Conditions: determines the dynamics by which the opponent switches from the first action to the second.
Punishment Settings: here you choose which types of moves the opponent performs during the second action; besides some preset moves, there’s also the option to manually record the opponent’s response.
Ground Techniques (soft knockdown): determines the opponent’s response during a soft knockdown, i.e. when their whole body is about to touch the ground.
Ukemi, a defensive maneuver that grants brief invincibility while getting up.
Quick Recovery, an offensive move that hits the opponent while getting up (performed by holding F); it’s a risky move, since if your opponent attacks you, it puts you right back into a combo.
Quick Backward Roll is a backward tumble to avoid being hit while on the ground; it’s only usable against certain moves.
Actions After Ukemi: since Ukemi lets you get up without being touched, the game offers an additional setting for the following action. The settings are similar to the second action.
Getting Up (Hard Knockdown): determines which actions the opponent performs during a Hard Knockdown, i.e. when the opponent is completely down.
Note: every Hard Knockdown option is punishable, if you choose to stand up, the opponent can throw out a mid that catches you in the early frames and locks you into the animation while hitting you.
Standing Up: the opponent stands up blocking highs and mids.
Standing Up (backward): the opponent stands up while moving away, blocking highs and mids.
Forward Roll: they get up moving forward.
Side Roll: actually a sideways tumble; it can dodge certain lows or mids, or be used to extend the time spent on the ground (also useful for getting off the wall).
Mid Kick: delivers a mid kick that interrupts slow attacks but can be sidestepped.
Low Kick: delivers a low kick that interrupts slow attacks but can be sidestepped to the right.
Neither kick is punishable if blocked.
Recovery Kick (Toekick): delivers a kick from the ground and rolls backward; useful for dodging mid attacks and creating distance from the opponent. It’s only possible when lying face-up with your legs toward the opponent, and this kick can be thrown if blocked.
Spring Kick: the opponent launches themselves up using their arms, hitting with a mid attack; it’s as risky as it is unusual, since it’s punishable depending on distance, up close it’s throw punishable, while from farther away it’s only punishable at -13.
Beyond these there are also secondary settings such as enabling Counter Hit, Rage, and Heat, as well as the ability to set health percentage, health regeneration, and input delay to train for high-latency situations, and so on.
Which settings should I choose to start off right? Note: any settings not listed below should be left at their default.
In Training Mode, select “Offense“
Opponent Action: Standing / Standing and Close
Action After a Hit or Block: Block Everything
This way, you’ll already be able to tell whether your strings are “natural combos” or not. You’ll also be able to see how punishable your moves are: throw out a jab, wait a moment before triggering the second action, then use the move you’re interested in: the opponent will block, and you’ll find out whether your move is punishable or not.
Ground Techniques: Side Ukemi
Actions After Ukemi: Not Set
Ukemi is the safest way to get up, since with Block Everything set as the second action, the opponent will block indiscriminately even after an Ukemi.
Getting Up: Standing / Side Roll
This way you’ll have an opponent ready to eat and block hits, get up quickly and confidently, simulating everything you need during your experimentation phase.
Restart Settings
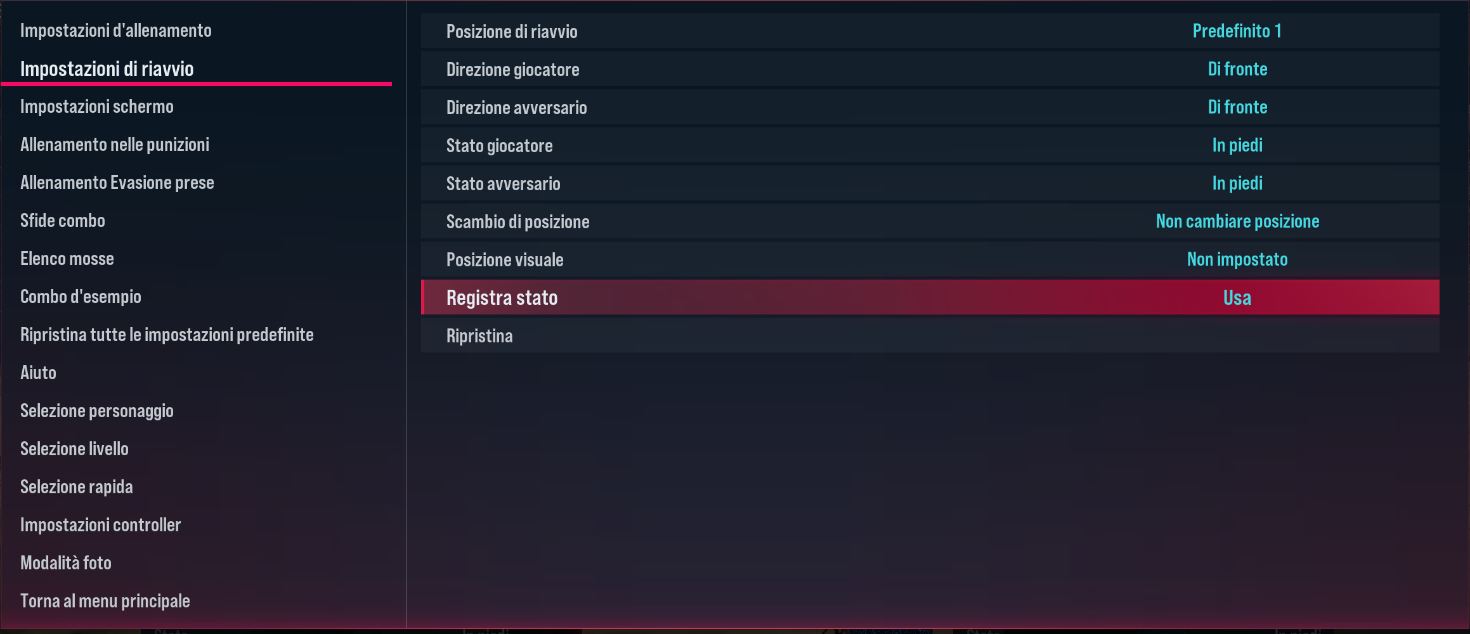
There isn’t much to say here: you can select the restart position, your character’s facing direction (back turned, sideways, etc.), and your opponent’s facing direction.
There are also shortcuts: F + the restart button to reset near the wall, B + the restart button to reset with your back to the wall, or U + the restart button to reset into an infinite stage (no walls), available only in Training Mode.
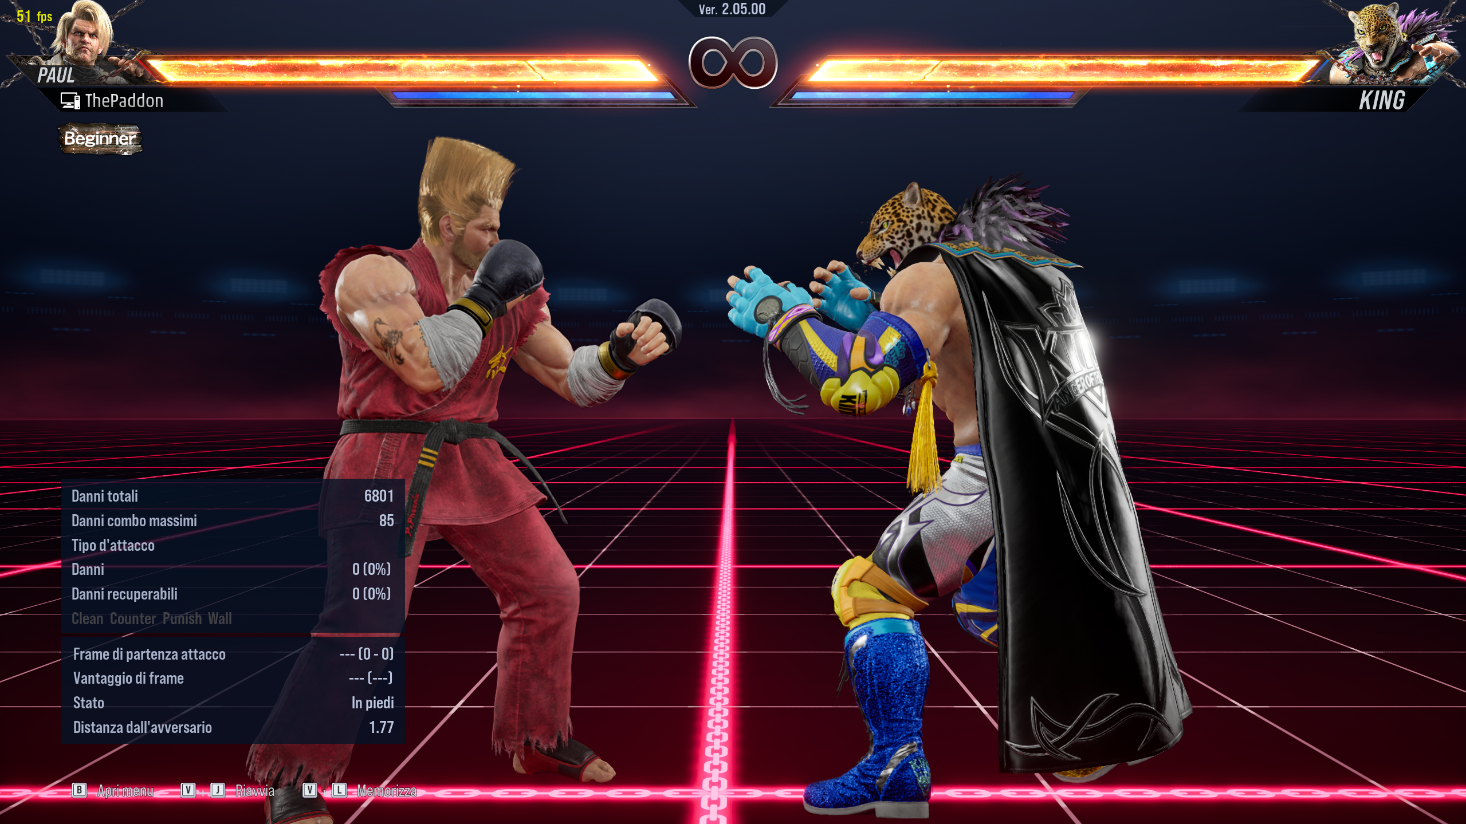
Display Settings
These settings relate to the information the interface can show you, such as move history, detailed frame data, health points, attack information, and so on.
The information you should always keep on your interface is:
Move History: Show
Interface: Show
Health Information: Show
Opponent Attack Information: Show
Opponent Frame Information: Show
This way, using the Training Settings, you can quickly tell which moves are punishable and which leave you at an advantage, or use the move history to check whether you’re executing an input correctly.
Let’s move on, skipping Punishment Training and Combo Challenges, since they’re secondary (Punishment Training doesn’t cover ALL of the opponent’s punishable moves, only some of the best-known ones, while Combo Challenges are often not very useful to practice, since they aren’t very well optimized).
Move List
Once you’ve applied and understood all the settings, we get to the core of Training Mode: the Move List.
Opening the Move List gives you three tabs: Main Techniques, All Techniques, Special Style.
Main Techniques: these are “headline” techniques worth knowing, since they come with a quick explanation such as “Few openings” or “Effective against opponents who use high attacks.”
Special Style: this is the one we care about least, since it’s a menu explaining the inputs for players using that specific style.
All Techniques: this is the most important tab in the Move List. At the start there’s a brief explanation of the character’s Heat system, some moves that get powered up in Heat, and the Rage Art.
Right after that come the normal moves, i.e. moves you can use at any time during neutral.
How to read normal moves and find the ones you’re interested in
The Move List has a hidden reading order (or at least one that isn’t pointed out).
Every move starts from button 1, followed by 2, then 3, and finally 4.
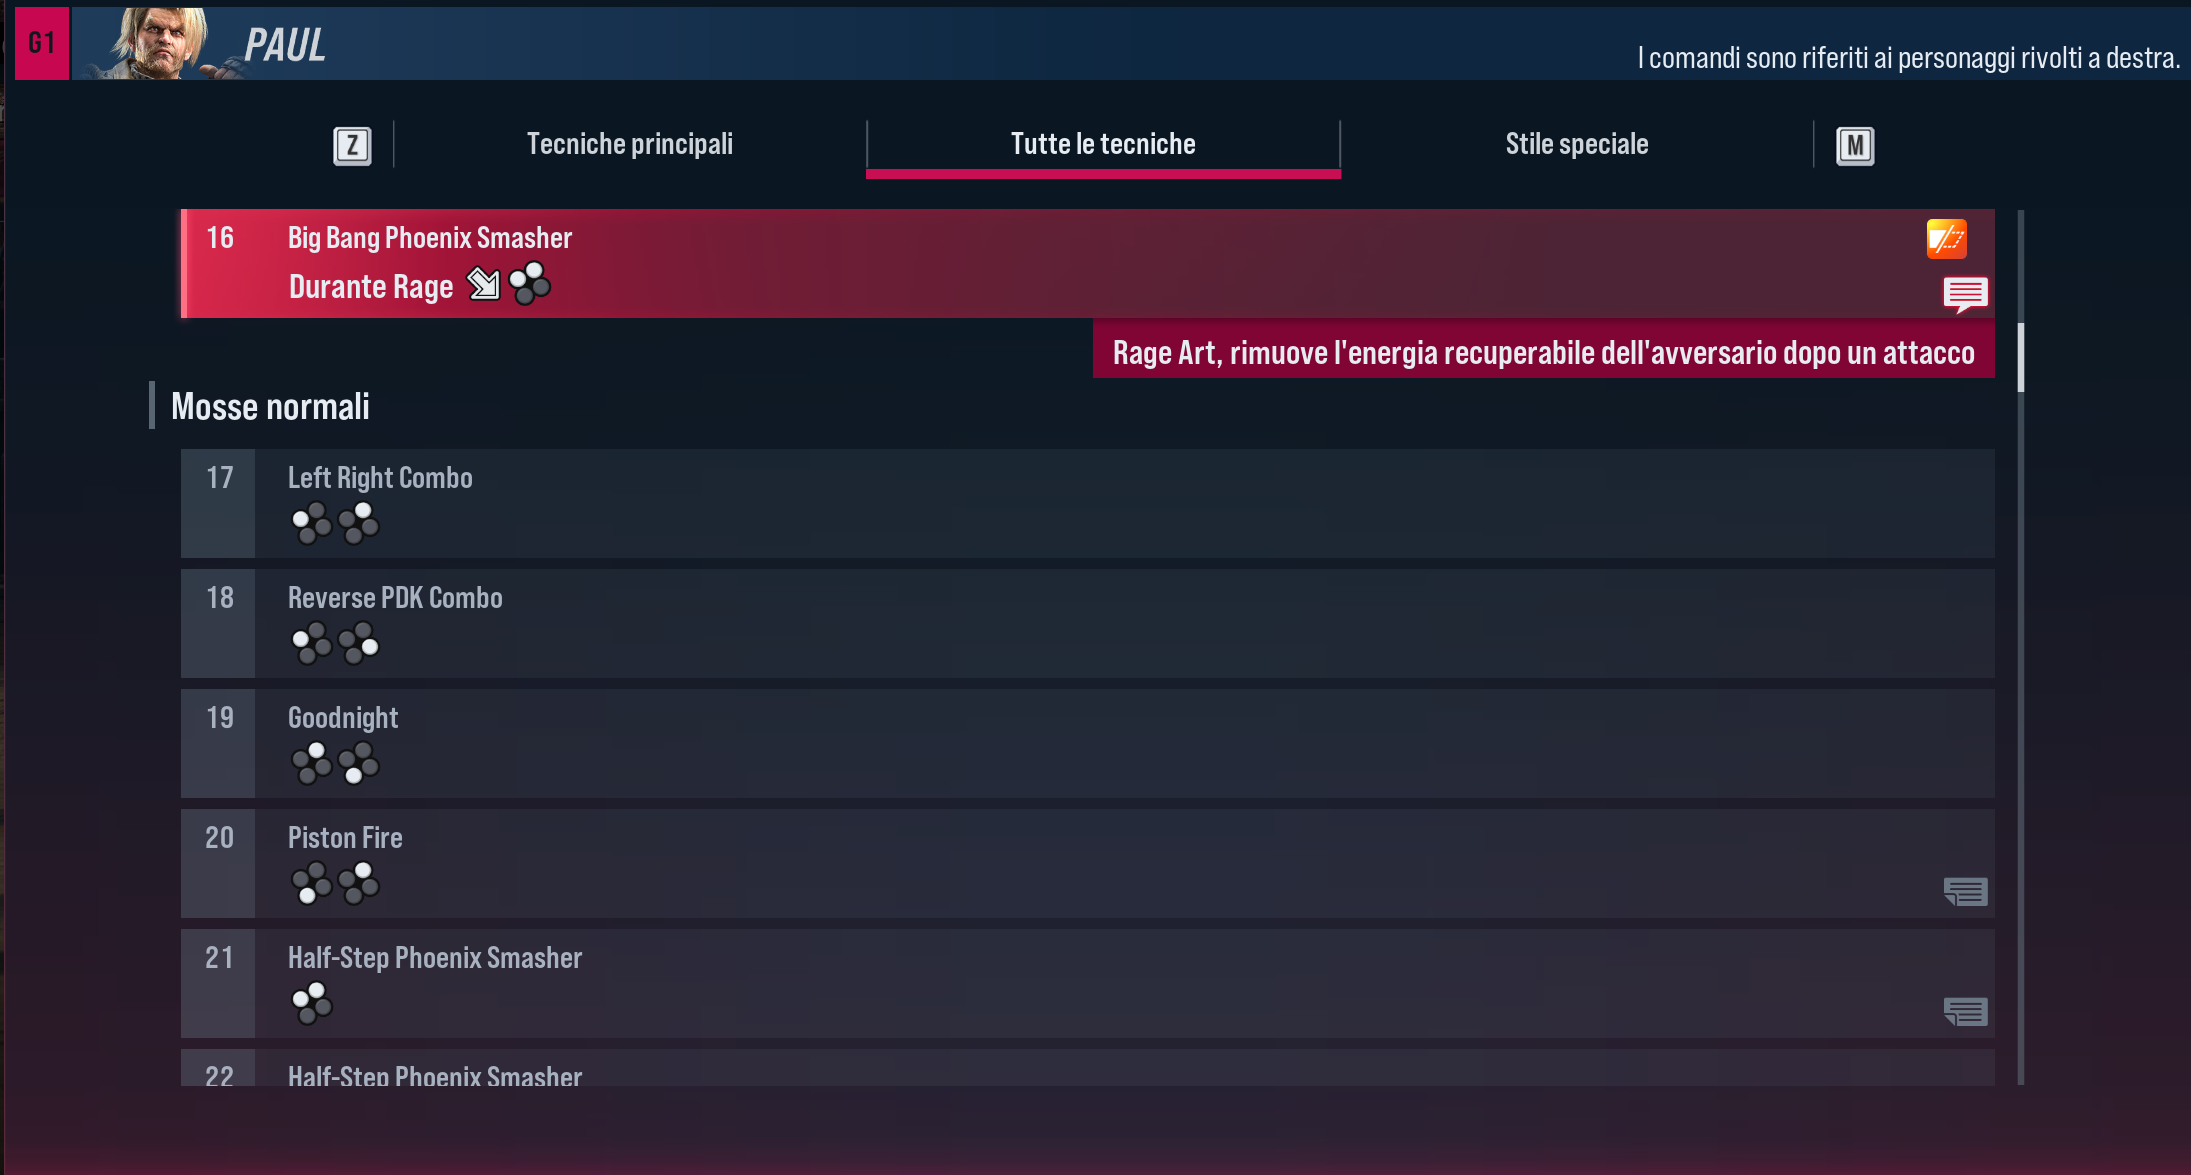
As you can see, Paul’s first move is: 1,2
Followed by 1,4 (Paul doesn’t have a move performed with 1,3; otherwise that would have been move number 18).
Once the strings starting with button 1 are done, you move on to strings starting with button 2.
Like move number 19: 2,3
Once the strings starting with button 2 are done, button 3 begins, and so on. After covering buttons 1, 2, 3, 4, the game moves on to two buttons pressed at the same time: 1+2, 3+4, 1+4, 2+3.
Then, once those are covered too, the movement buttons begin, combined with numbers to follow up (1, 2, 3, 4). The movement buttons start from F, moving in a clockwise loop: starting from F, it goes DF, D, DB, B, UB, U, UF.
Once all the movement buttons are covered, the game moves on to repeated movement buttons like FF; in this case, though, the attack button is preceded by an additional movement button.
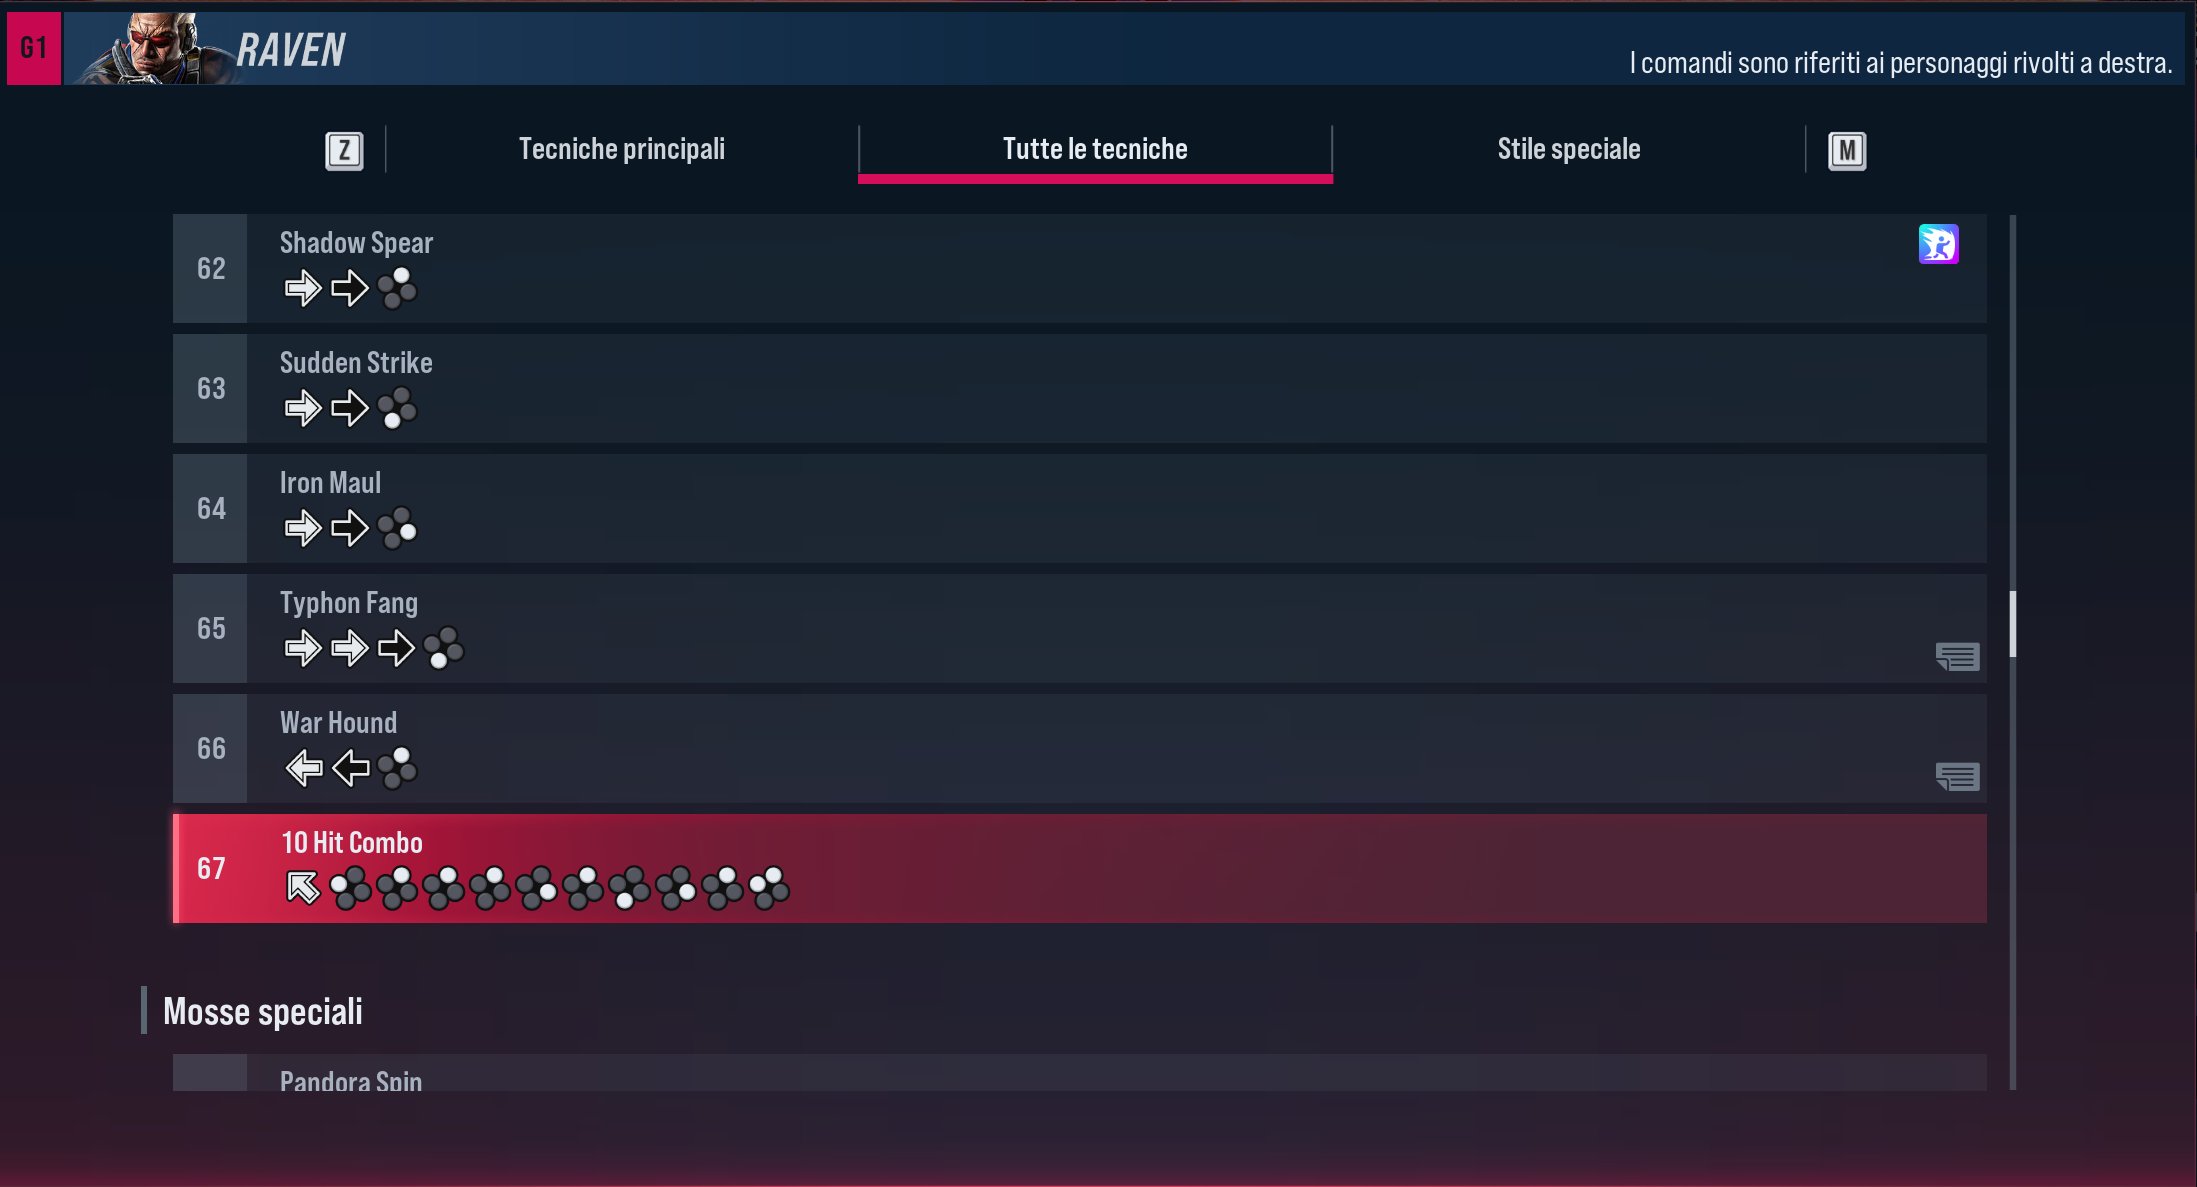
Move number 66, following the order described above, should actually be move number 65, but it isn’t.
After the moves with movement buttons come the 10 Hit Combos, a specific string exclusive to each character. This particular “combo” mixes specific moves to create a flashy 10-hit combination that wouldn’t otherwise chain together outside this exact string. Generally, 10 Hit Combos aren’t very useful, since they’re extremely punishable and blockable — they’re more like a character’s “iconic move” instead. It’s worth noting that many 10 Hit Combos date back to the earliest Tekken games, and so they still carry a certain charm. Note: a few installments ago there used to be more 10 Hit Combos per character, but as competitiveness grew and the movelist expanded, the number of 10 Hit Combos per character was reduced.
After the “Normal Moves” section comes the “Special Moves” section. “Special Moves” refers to all the moves that aren’t normal, meaning they require specific conditions, aren’t very useful, or are extremely iconic for the character. Often this section only contains the “Ki Charge” or a few other move types.
Next come the Crouching Moves, which include both moves performed while “standing up” from a crouch and moves performed “while crouched” (the game calls this “Crouching,” though the term can be a bit confusing).
The “Back Turned” moves (while facing away) are moves that can only be performed when your character’s back is turned toward the opponent, and for some characters, this is a stance in its own right.
Next we have the Stances, which can be either dynamic or “static.”
Here too, the Move List follows a precise order for how they’re displayed.
First come all the “stances” or “transitions” that can be activated with movement inputs, but only forward movements such as F or QCF (D, DF, F). Next come stances activated only with attack buttons, followed by movement inputs + attack buttons, and finally backward movements.
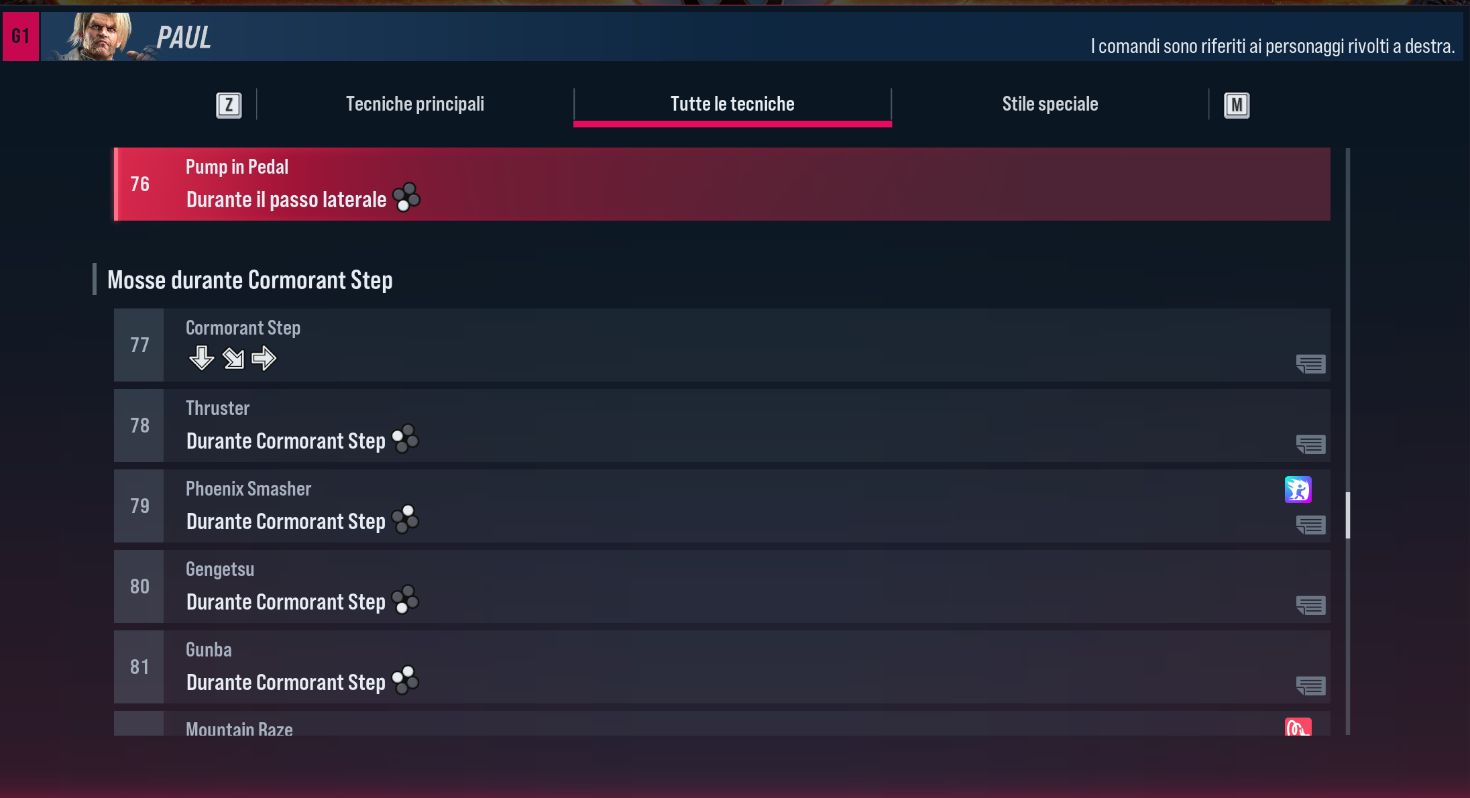
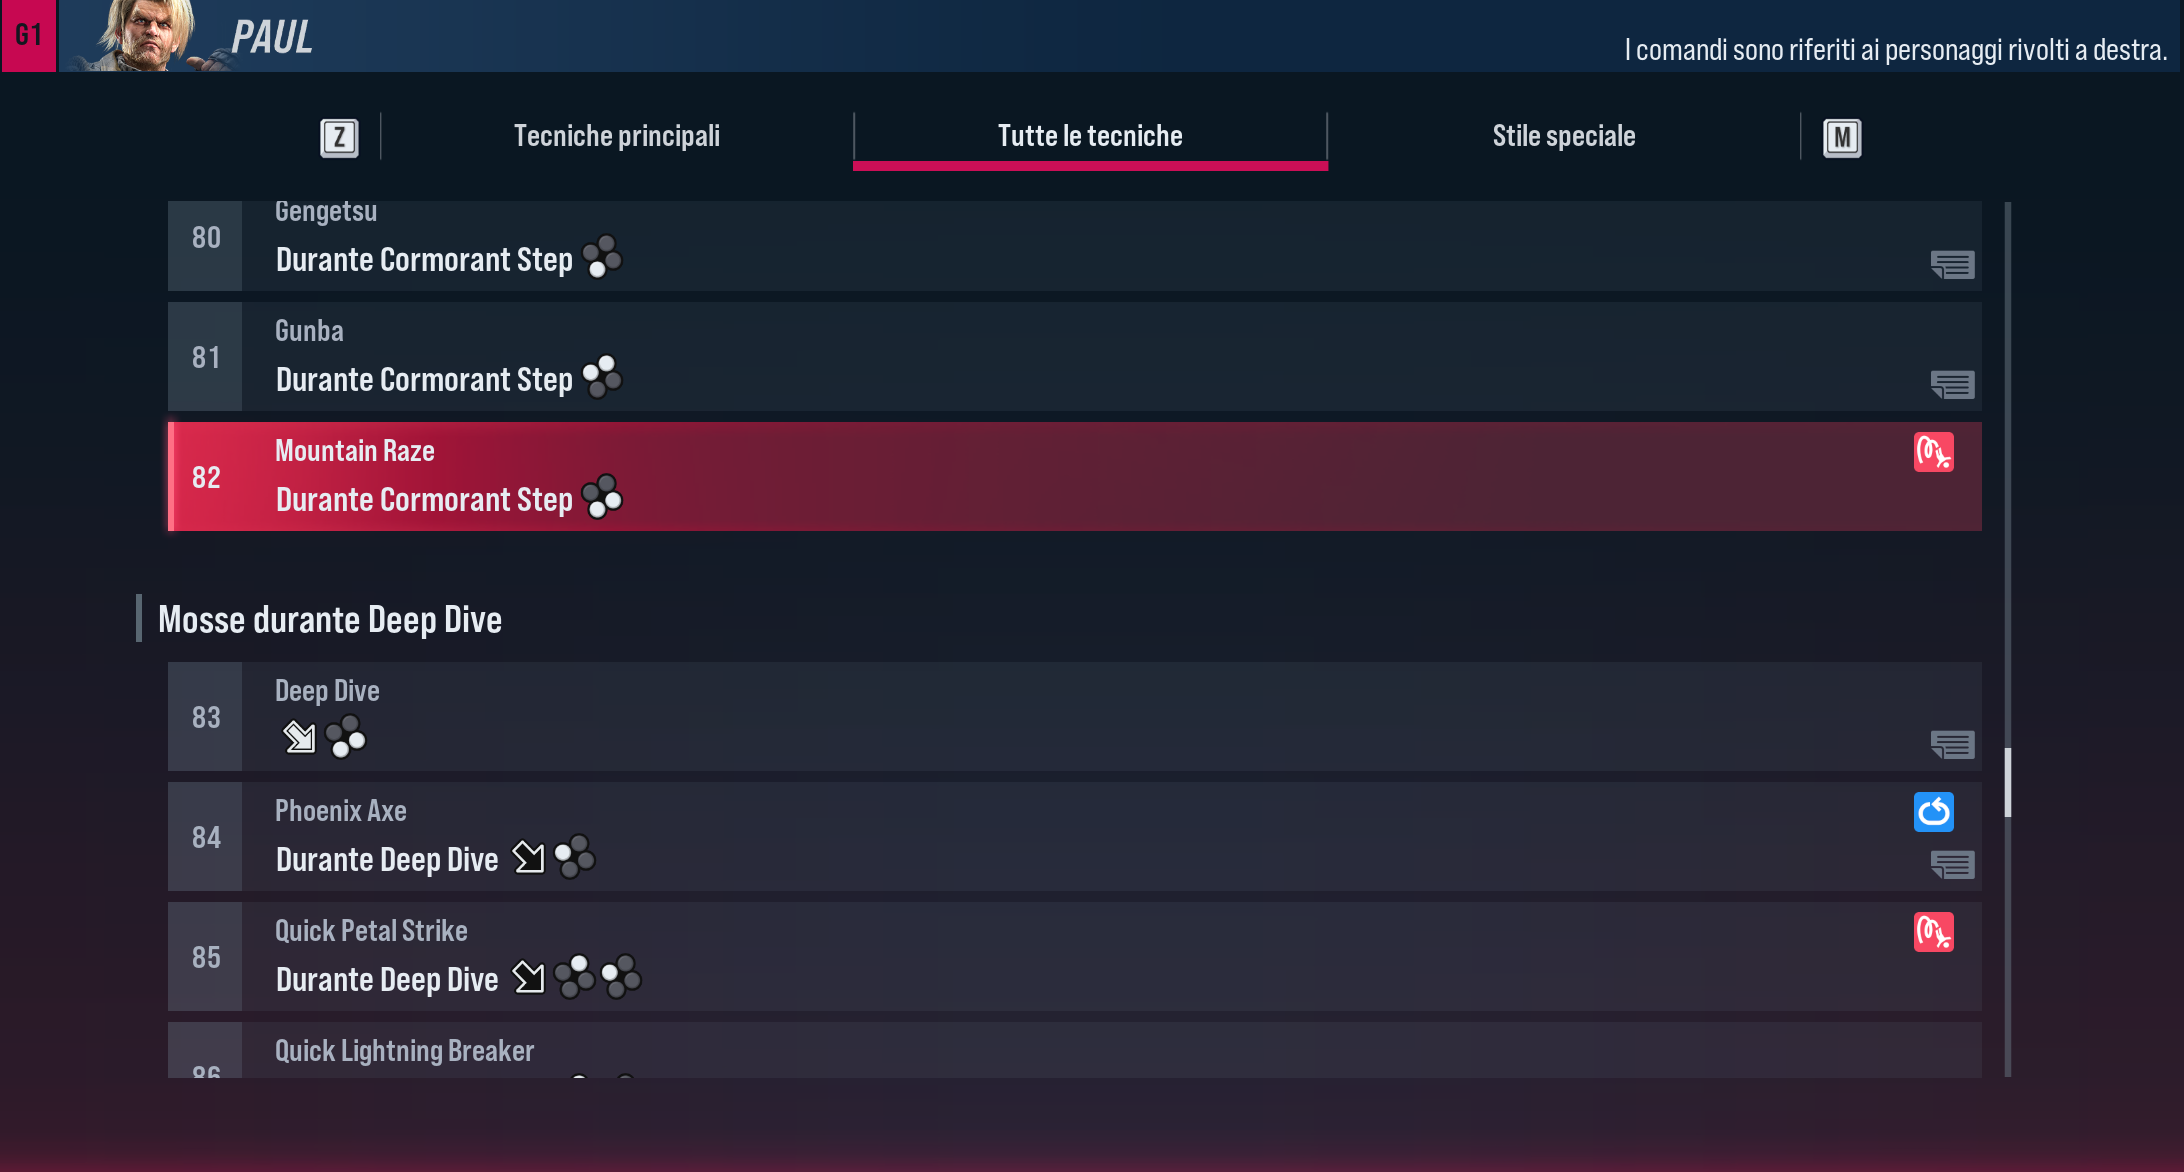
The Move List then continues with moves performed on the ground, Throws, and Attack Reversals (parries), and at the end of the list, for some characters, there are moves that can only be performed when the opponent is on the ground.
Why is it worth knowing all this?
Knowing how Training Mode works, and being fluent in browsing the move list, in simulating situations, and in practicing them, helps you save time, since there’s never enough of it — and helps you focus better on the things that actually matter for your character. Instead of spending three minutes every time hunting for a specific move, you can spend that time understanding on your own how everything works, and in doing so, become truly “fluent” in your search.